
Crunch Time!
Ellie Wilson, MS, RDN Senior Nutritionist
Apples are amazing – sweet, tart, crunchy and crave-worthy! This is apple season, and we have the benefit of enjoying local apples and apple cider, especially the super crunchy, super juicy Snapdragon® born and raised in New York! Sweet and spicy, with hints of vanilla, it is a variety that has the bonus of being the product of a cross with the super popular Honey Crisp – YUM! Fun fact – New York ranks second in the U.S. for apple production, with more than 1 billion pounds grown each year!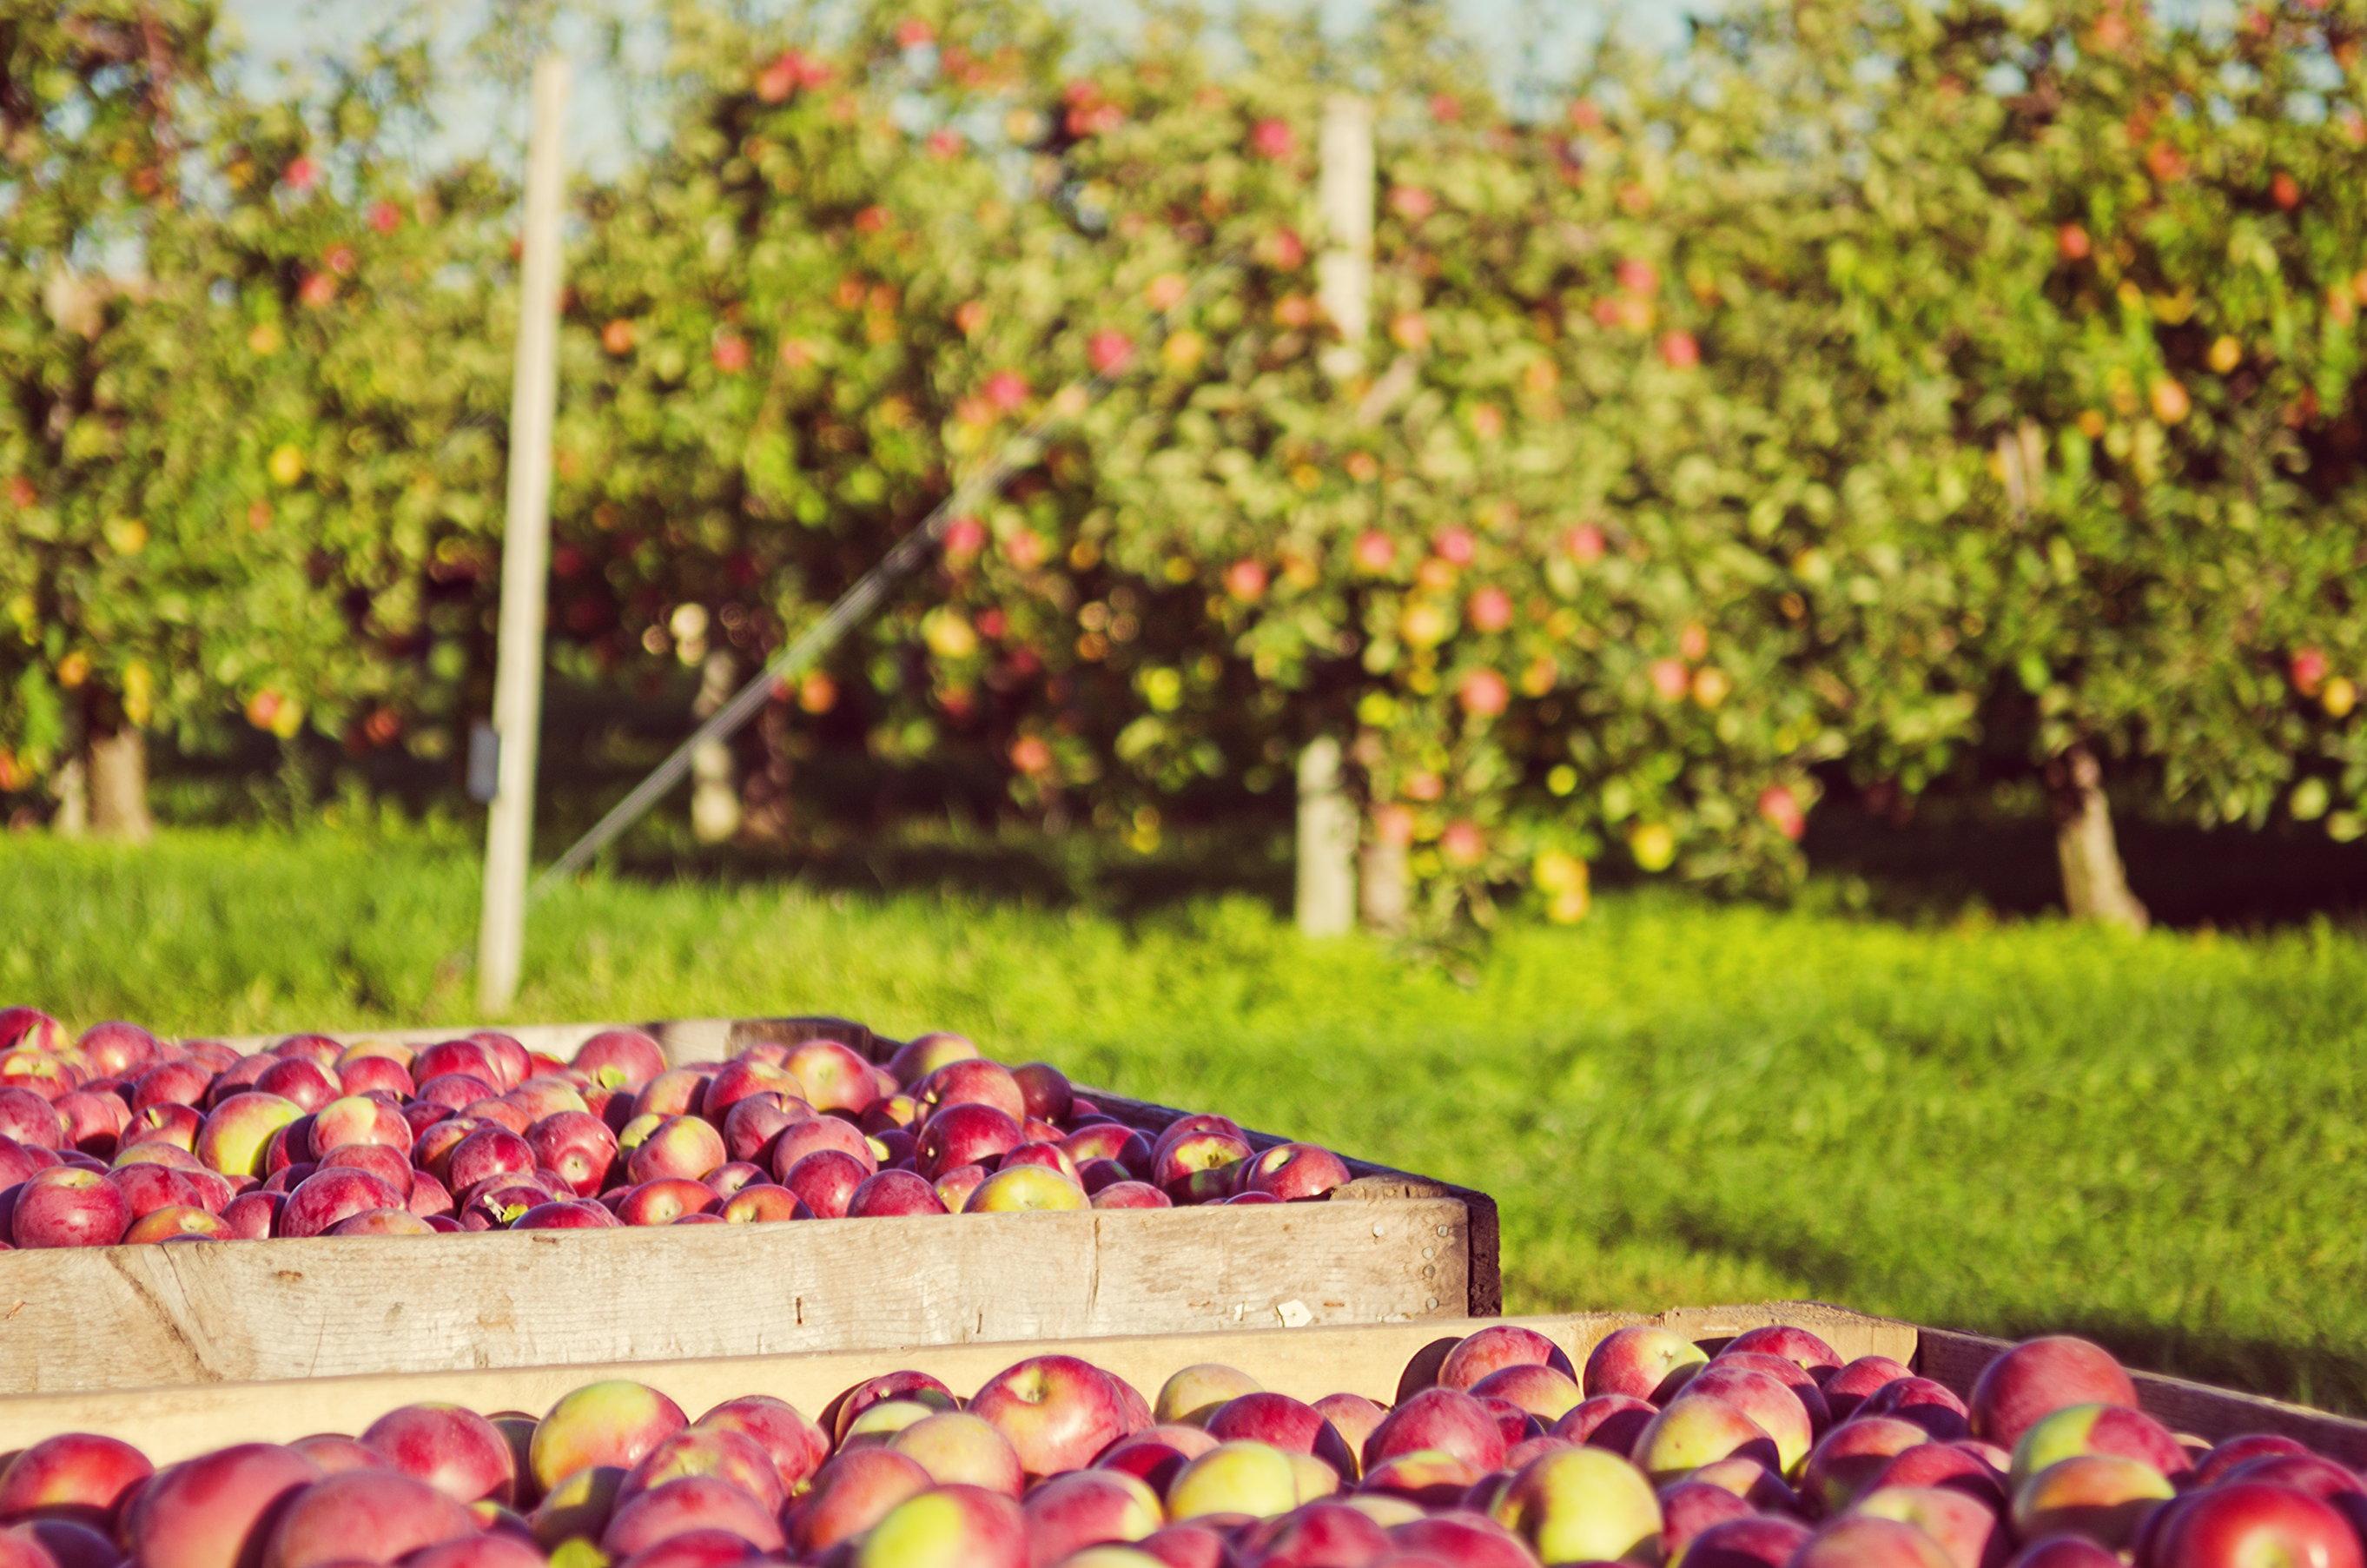
Farming and harvest of Honeycrisp apples in an orchard in Nova Scotia.
Activate Wellness: November is National Diabetes Month
Ellie Wilson, MS, RDN Senior Nutritionist
 Diabetes is a rising concern for many – almost 10% of Americans have diabetes, and another 30% are at risk. The good news is, eating well to prevent or manage diabetes is the same for everyone.
Some quick tips:
- Make half your plate veggies and fruit for most meals, and you have taken a giant step in the right direction. Fresh, frozen and canned fruits and veggies can all be part of your solution.
- Watch quantities on starchy foods – a small serving of potatoes is fine, whole grain sides like rice and quinoa in smaller servings, and whole grain breads are all okay.
- Lean proteins in moderate portions, including seafood twice per week, dairy, beans and legumes, lean chicken, pork or beef – all fit.
- Good fats, like olive oil, avocados and olives, are important to ensuring food tastes good and enhances absorption of key nutrients.
- Even dessert – small servings, or low/no calorie treats, are a good way to make delicious and carb-conscious choices.
- Milk or water round out your meals and snacks, and offer vital nutrients and hydration.
- Our Pharmacy team is also a wonderful resource and has a free medication and supplies program. https://www.pricechopper.com/pharmacy#/
 dinner affect my fasting blood glucose? What is a “good” fasting blood glucose? How do I use my blood glucose meter?
Sometimes a little “one on one” time to go over these questions can be very helpful! Stop by your local Market 32/Price Chopper Pharmacy and ask for help.
Did you know that we have a Diabetes AdvantEdge program to help you fight your diabetes? This allows patients to receive many generic diabetes medications for free and also a free blood glucose meter and discounted test strips. This can go a long way in making those medication costs affordable. We also have a mobile app and web pharmacy so that you can reorder refills on the go. You can even set up reminders right on your phone to help you remember to take a medication. Doesn’t get easier than that! To download go to the app store and download the Price Chopper Pharmacy Mobile App.
Next time you think, “I could use some help with my diabetes”, think Market 32/Price Chopper and stop in! We are happy to help.
Written by Kim DeMagistris, PharmD, RPh
Price Chopper Pharmacist
For more information visit:
https://www.pricechopper.com/pharmacy#/
http://www.diabetes.org/in-my-community/american-diabetes-month/
 5 Easy Care Tips for Cast Iron
Maureen Murphy, Manager Consumer Trends, Nutrition and Lifestyles
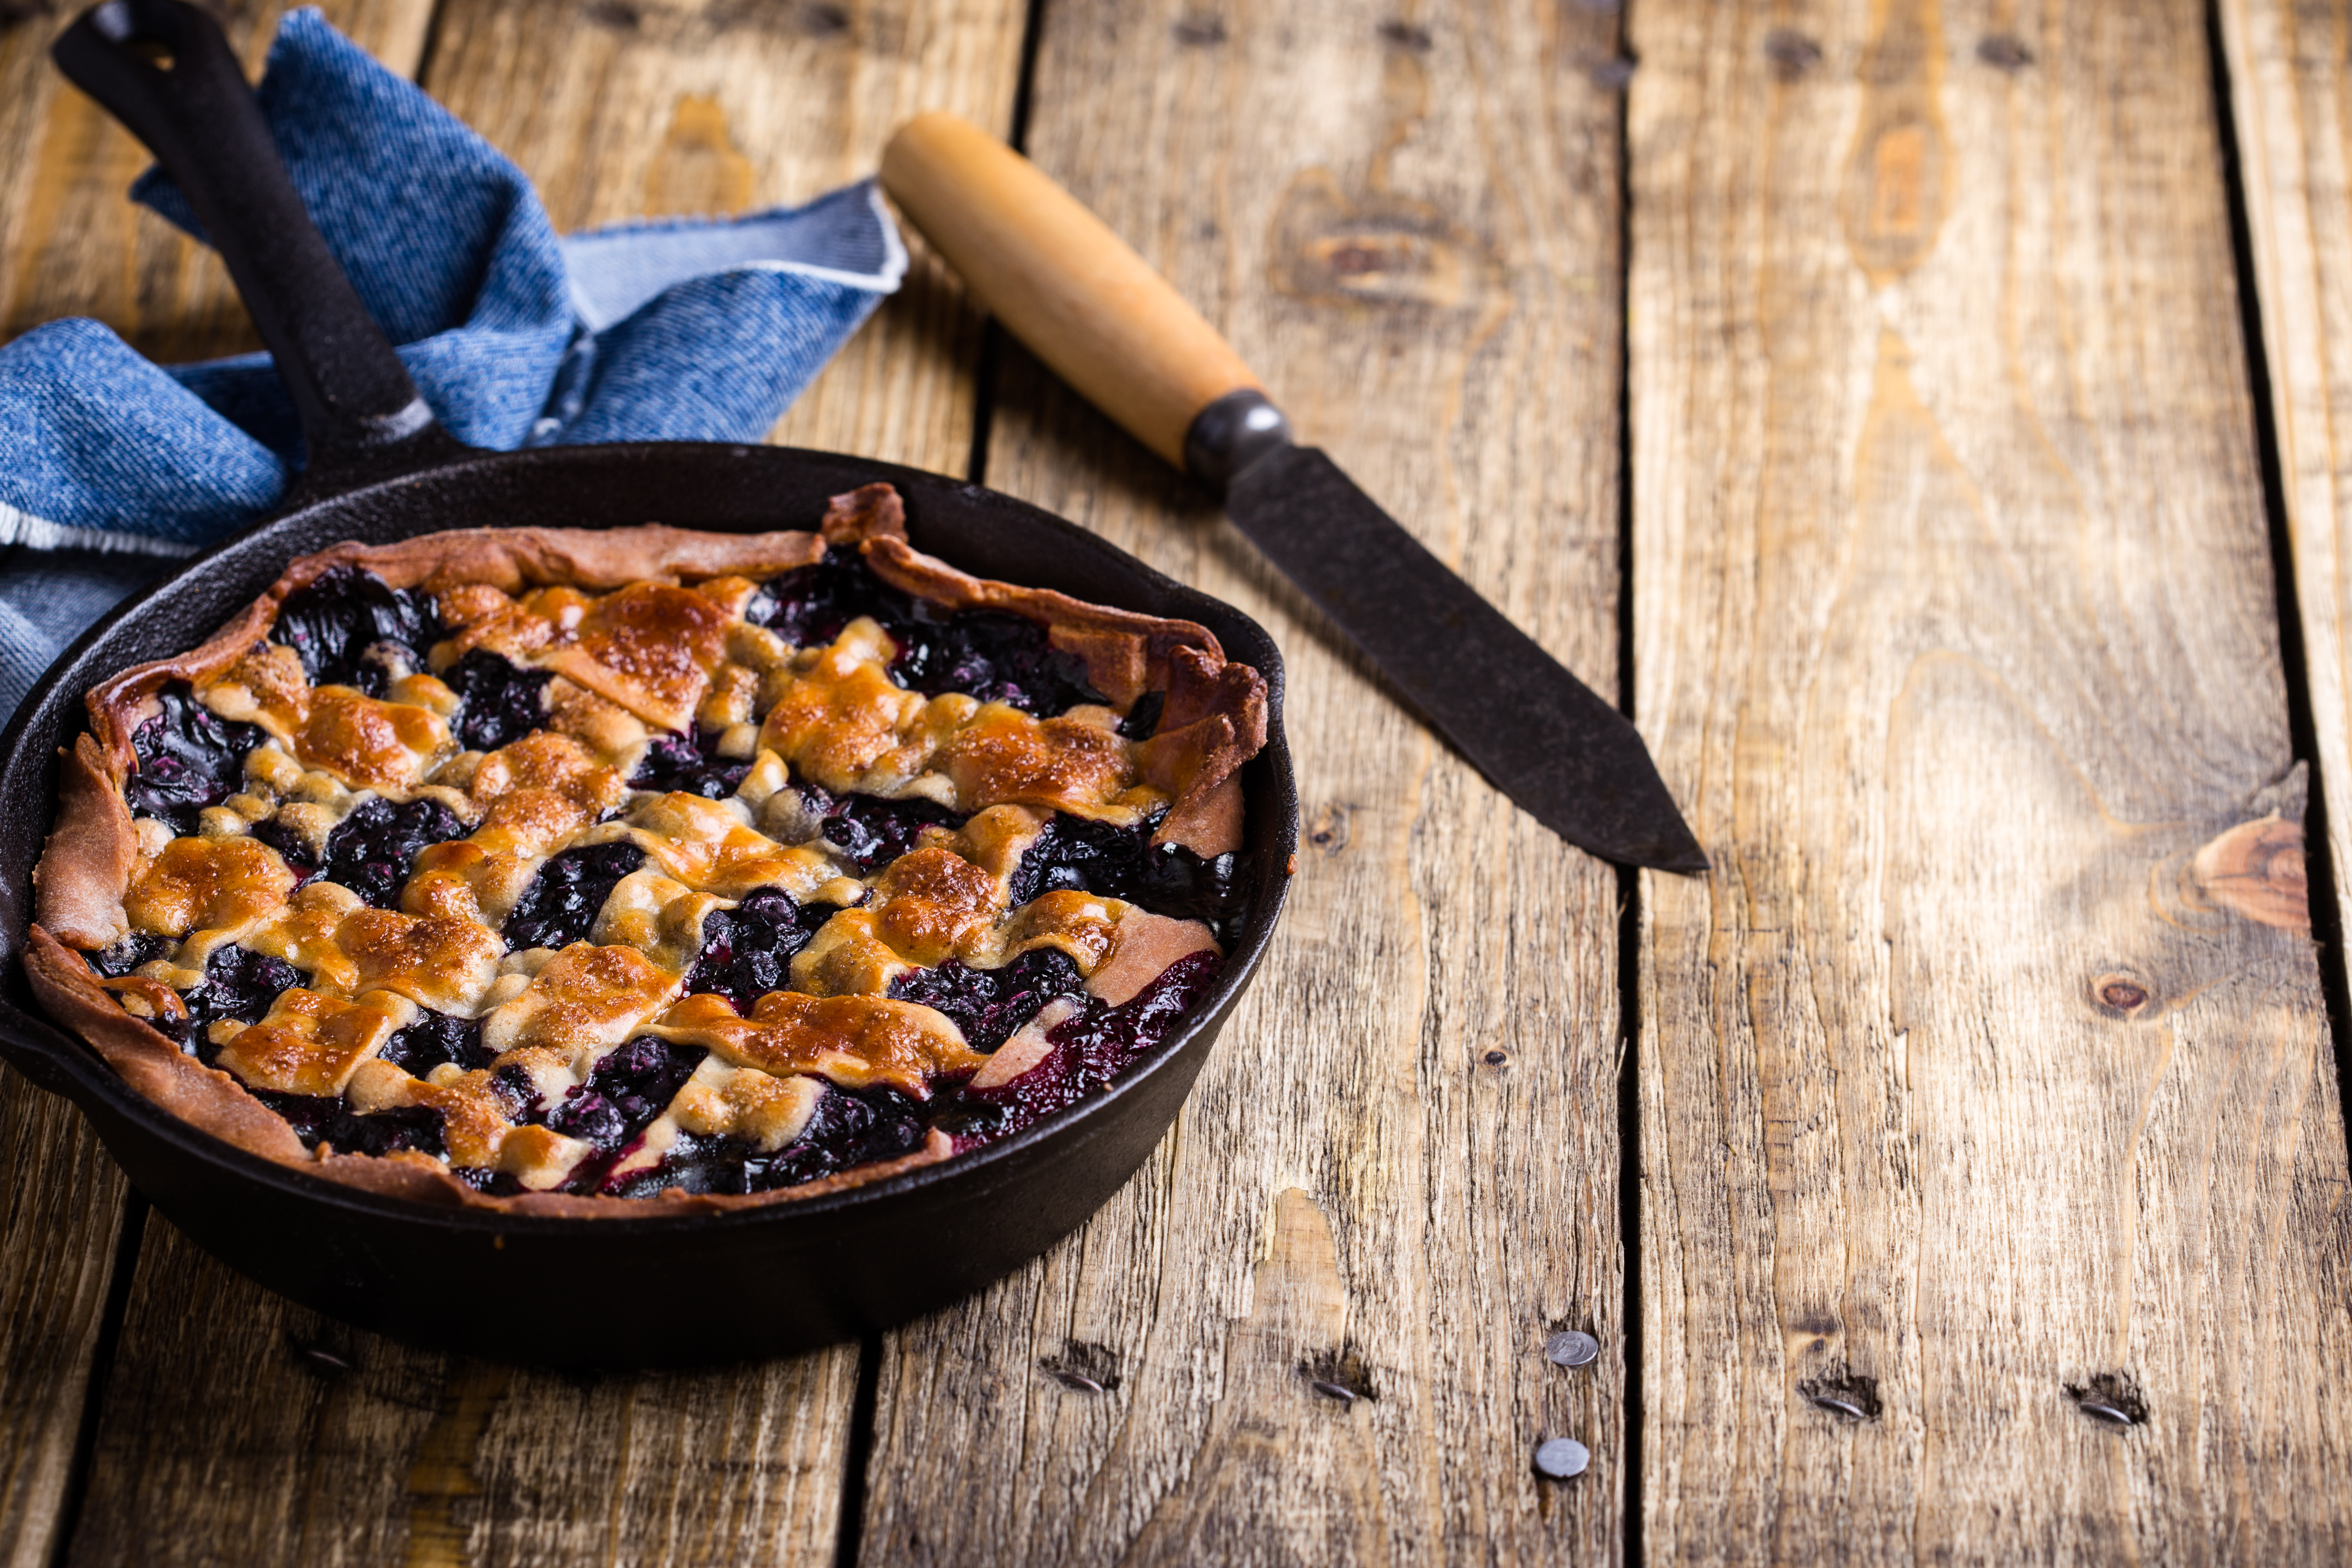
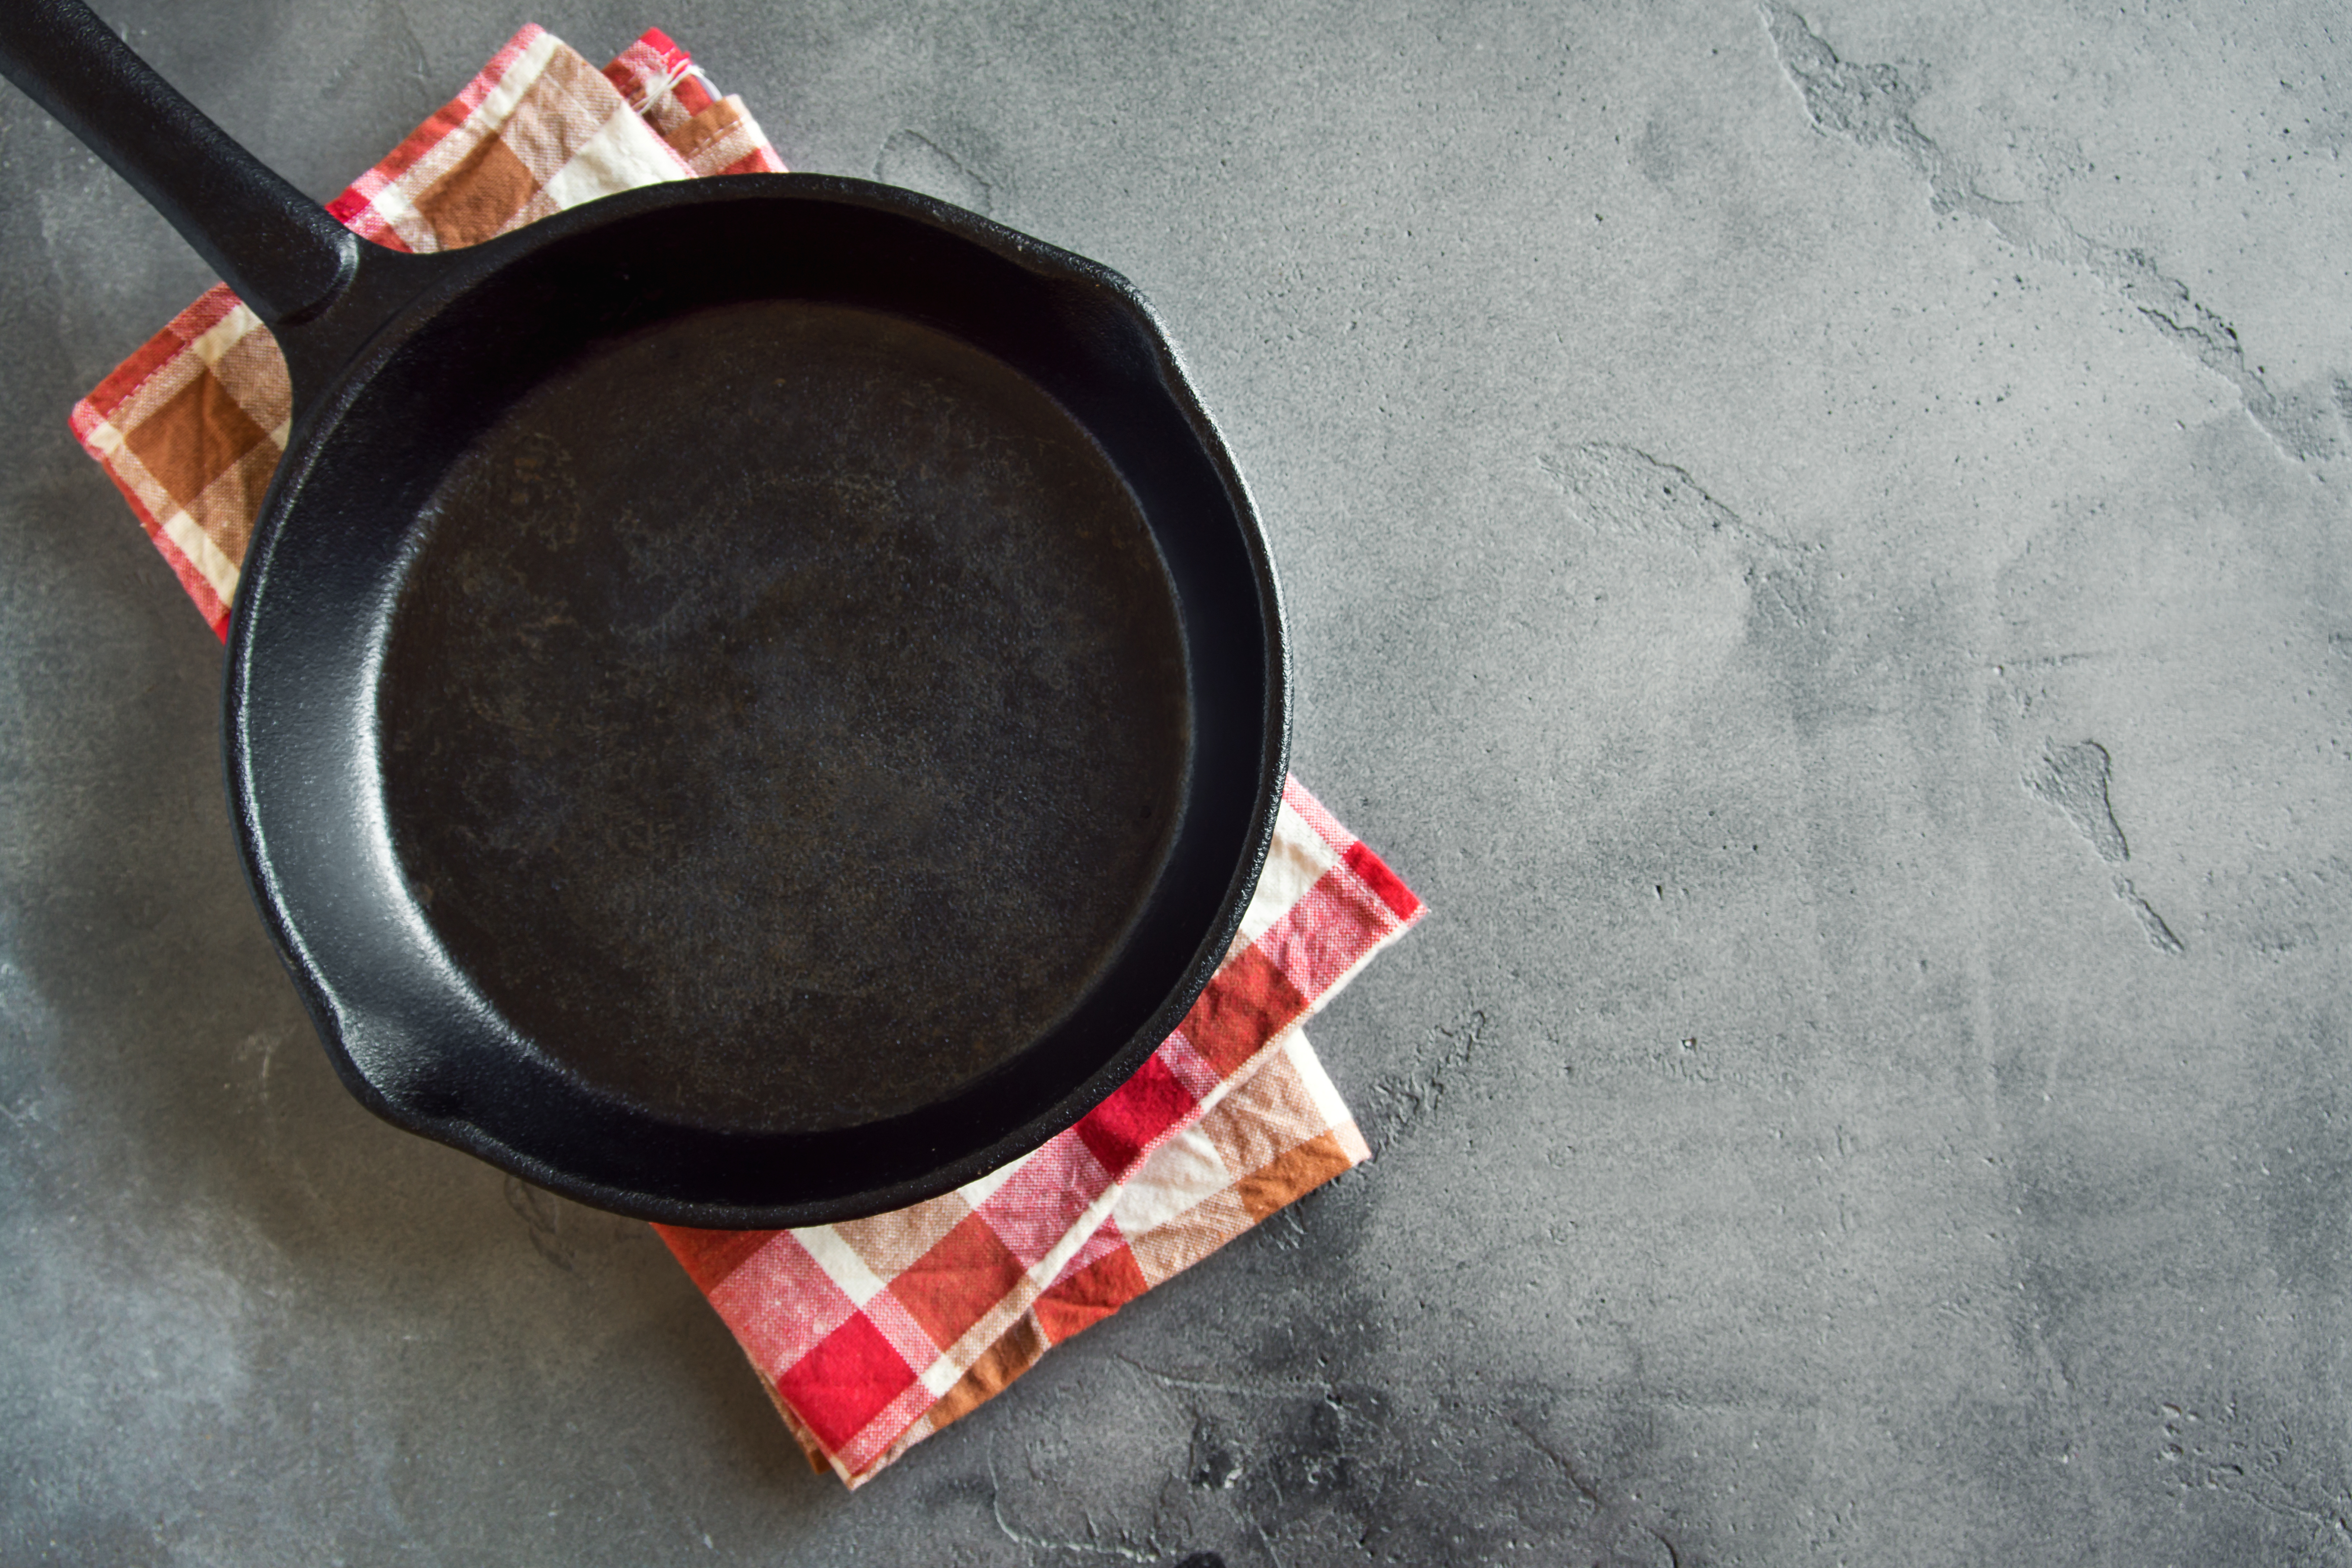 I fondly remember my grandmother’s well-seasoned cast iron pan, and the wonderful foods prepared in it. For many years I wanted one, but up until several years ago I was under the mistaken impression that cast iron still required a lot of care. An incredibly useful tool in the kitchen, cast iron is ideal for searing meats, retaining heat, and can go from stovetop to oven so you can even bake in it!
Once upon a time, cast iron skillets had to be seasoned before using for the first time, whereas today they are pre-seasoned in the factory making them ready for use after a quick rinse and thorough dry.
Thanks to these tips from Lodge, maker of cast iron cookware, it’s easy to keep cast iron looking and performing well.
- Cast iron can be washed – wash by hand using a nylon bristle brush, and if needed, use a pan scraper for any stubborn cooked-on bits.
- Do not: soak in water, use a dishwasher or metal scouring pads
- A mild detergent may be used, but isn’t necessary after each washing
- For particularly sticky food, simmer a little water for 1 minute, then use a pan
 scraper after skillet has cooled.
 - Dry immediately and thoroughly
- Rub with a little food-safe cooking oil/shortening (vegetable or canola oil recommended), preferably while skillet is still warm
- Use it frequently as the more often you use it the better it gets as the seasoning (oil) builds up on the pan creating a nonstick layer
- Scrub with a metal scouring pan
- Wash
- Dry
- Oil interior and exterior
- Place upside down with piece of foil or sheet pan underneath
- Bake in a 350° oven for 1 hour; allow to cool completely in oven
It’s National Sandwich Month!
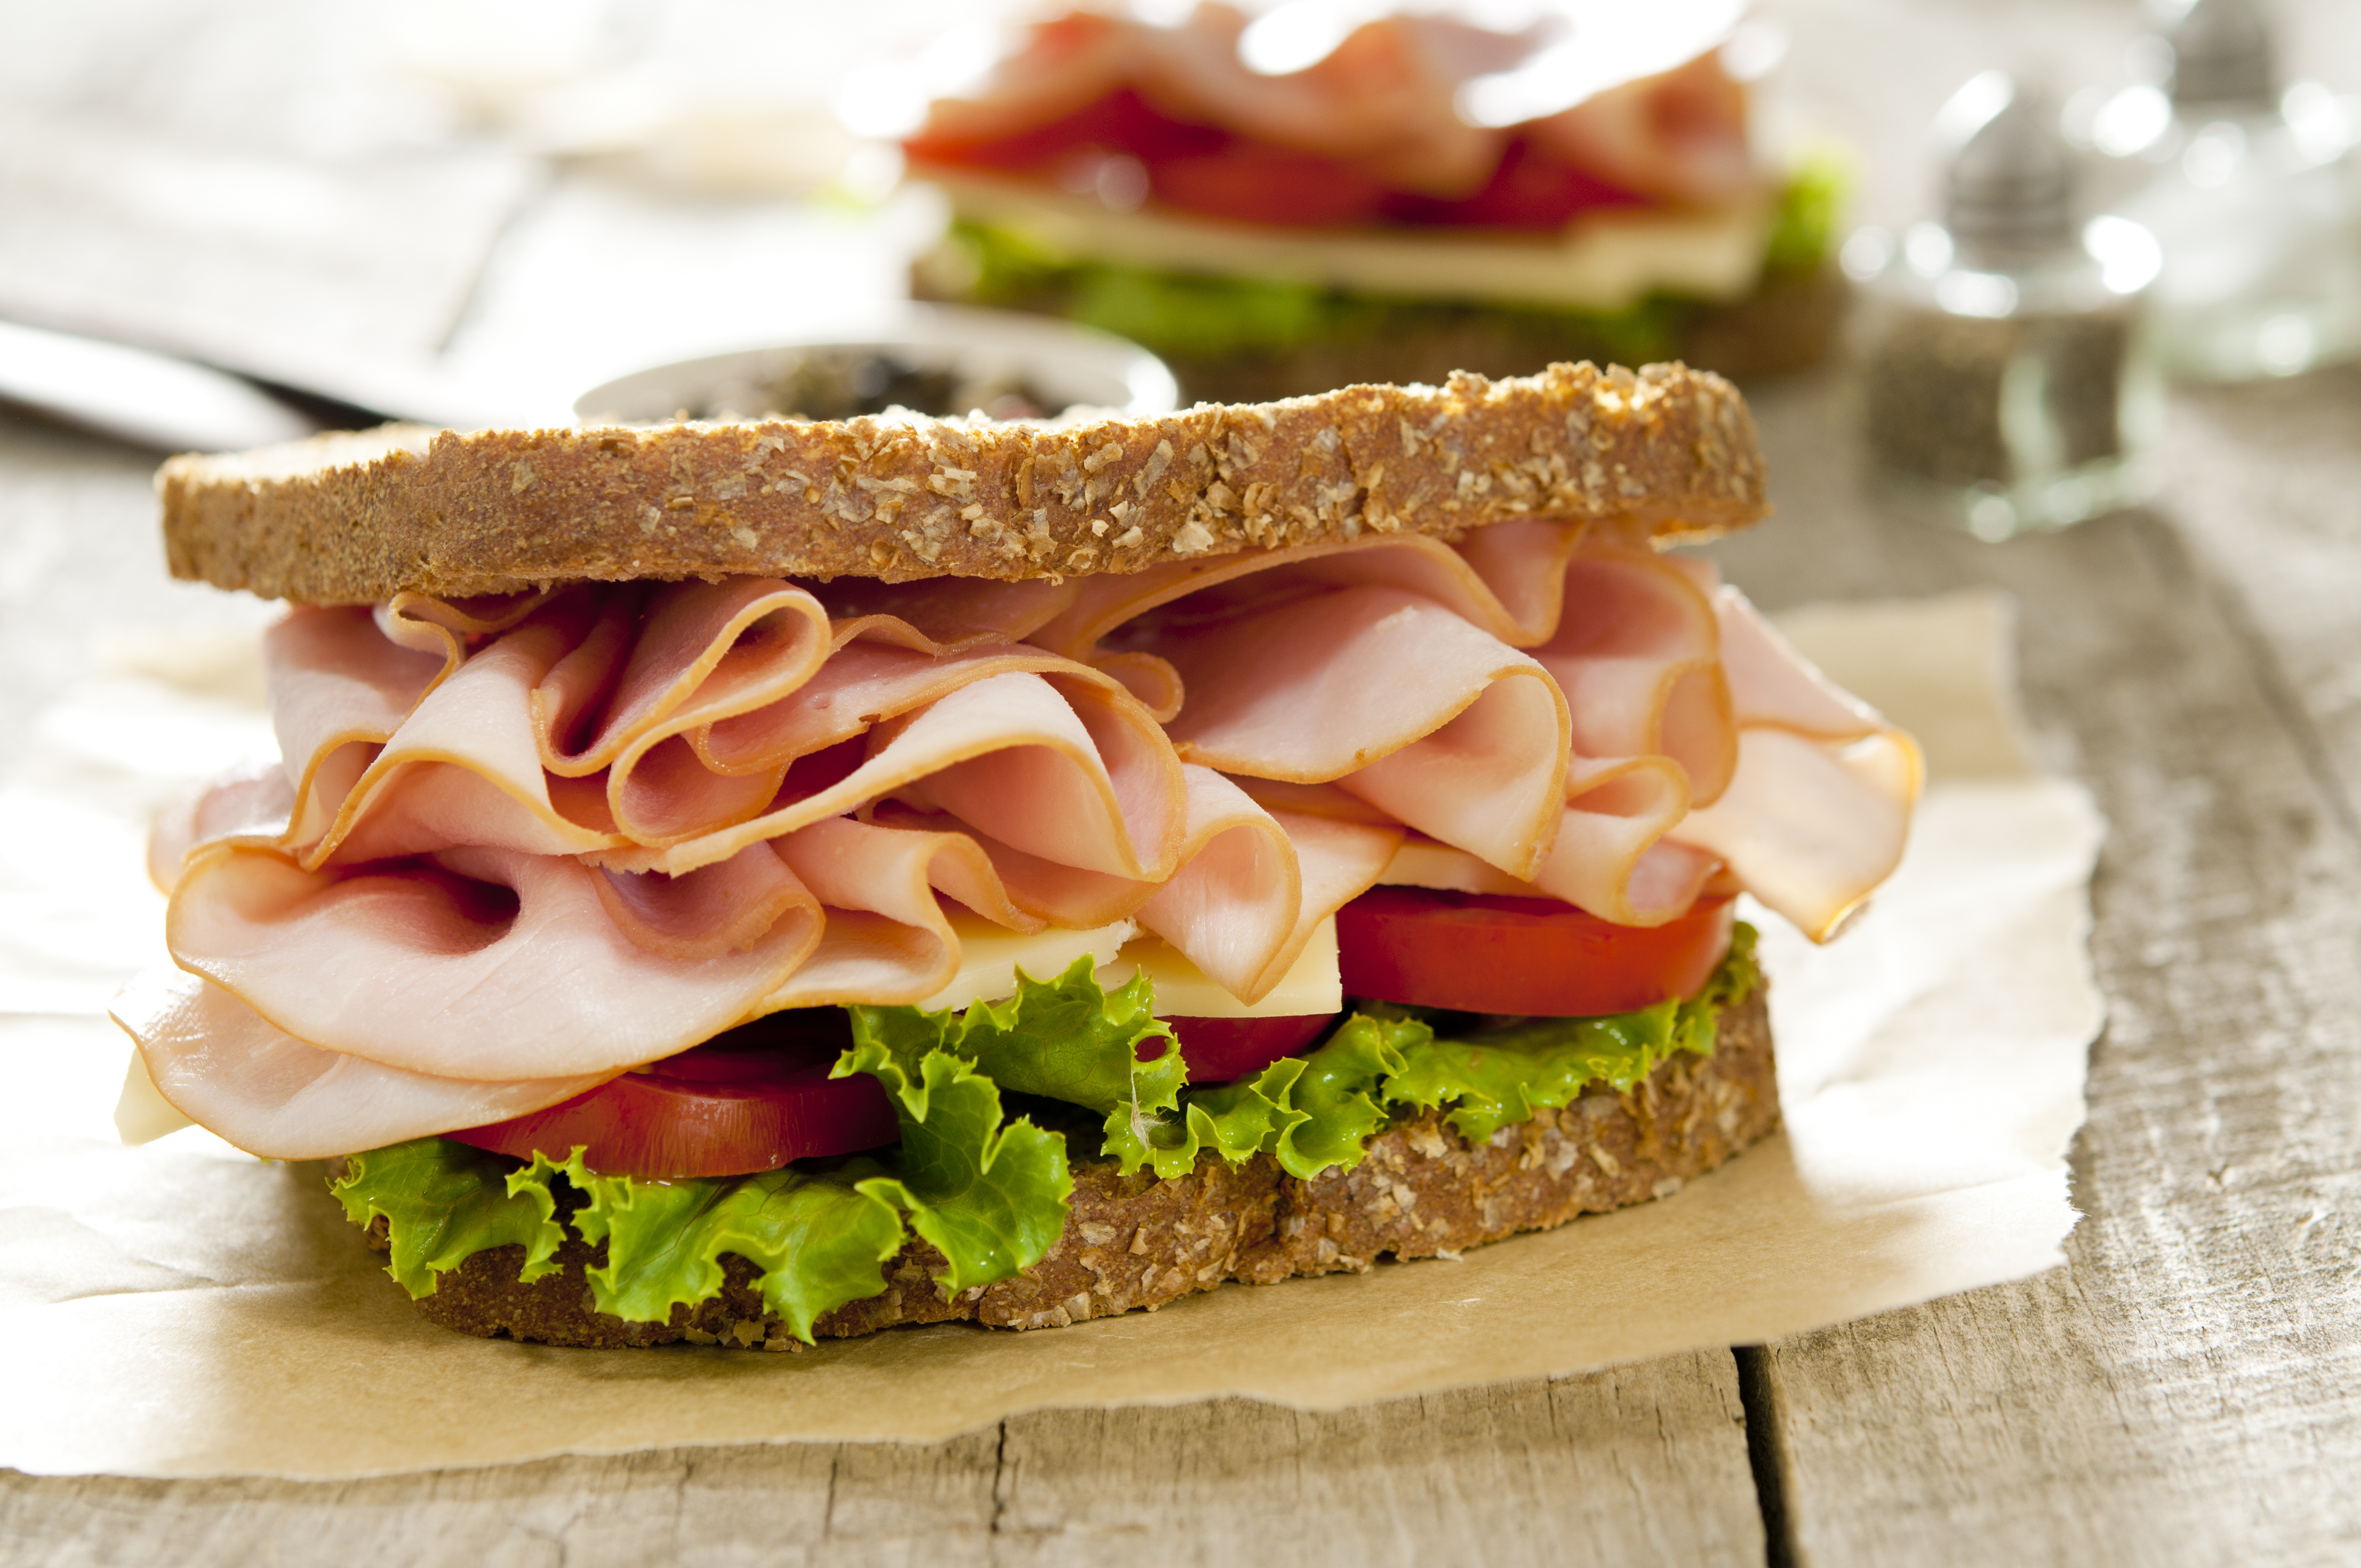
August is National Sandwich Month, and we find it necessary to give these tasty, versatile food combinations the appreciation they deserve! The first ever sandwich, as the story goes, was enjoyed by John Montagu, 4th Earl of Sandwich. Montagu was quite the gambler, and in the heat of a 24 hour gambling binge he needed a meal that would fill him up, while allowing him to keep his focus on his game. The cook brought him slices of meat stuck between two pieces of toast, no utensils necessary and a free hand to continue gambling. The sandwich was born! Fast forward to today and the sandwich has become something of an art form. Endless combinations, varieties, tastes, and flavors for any appetite. Anything goes! Creating the perfect sandwich has turned into a battle of creativity and originality. Meanwhile, the classic meat and bread combination is the perfect bite for any situation. We took a look at some of the best sandwich additions over time and how they became associated with such a staple in many people’s diets.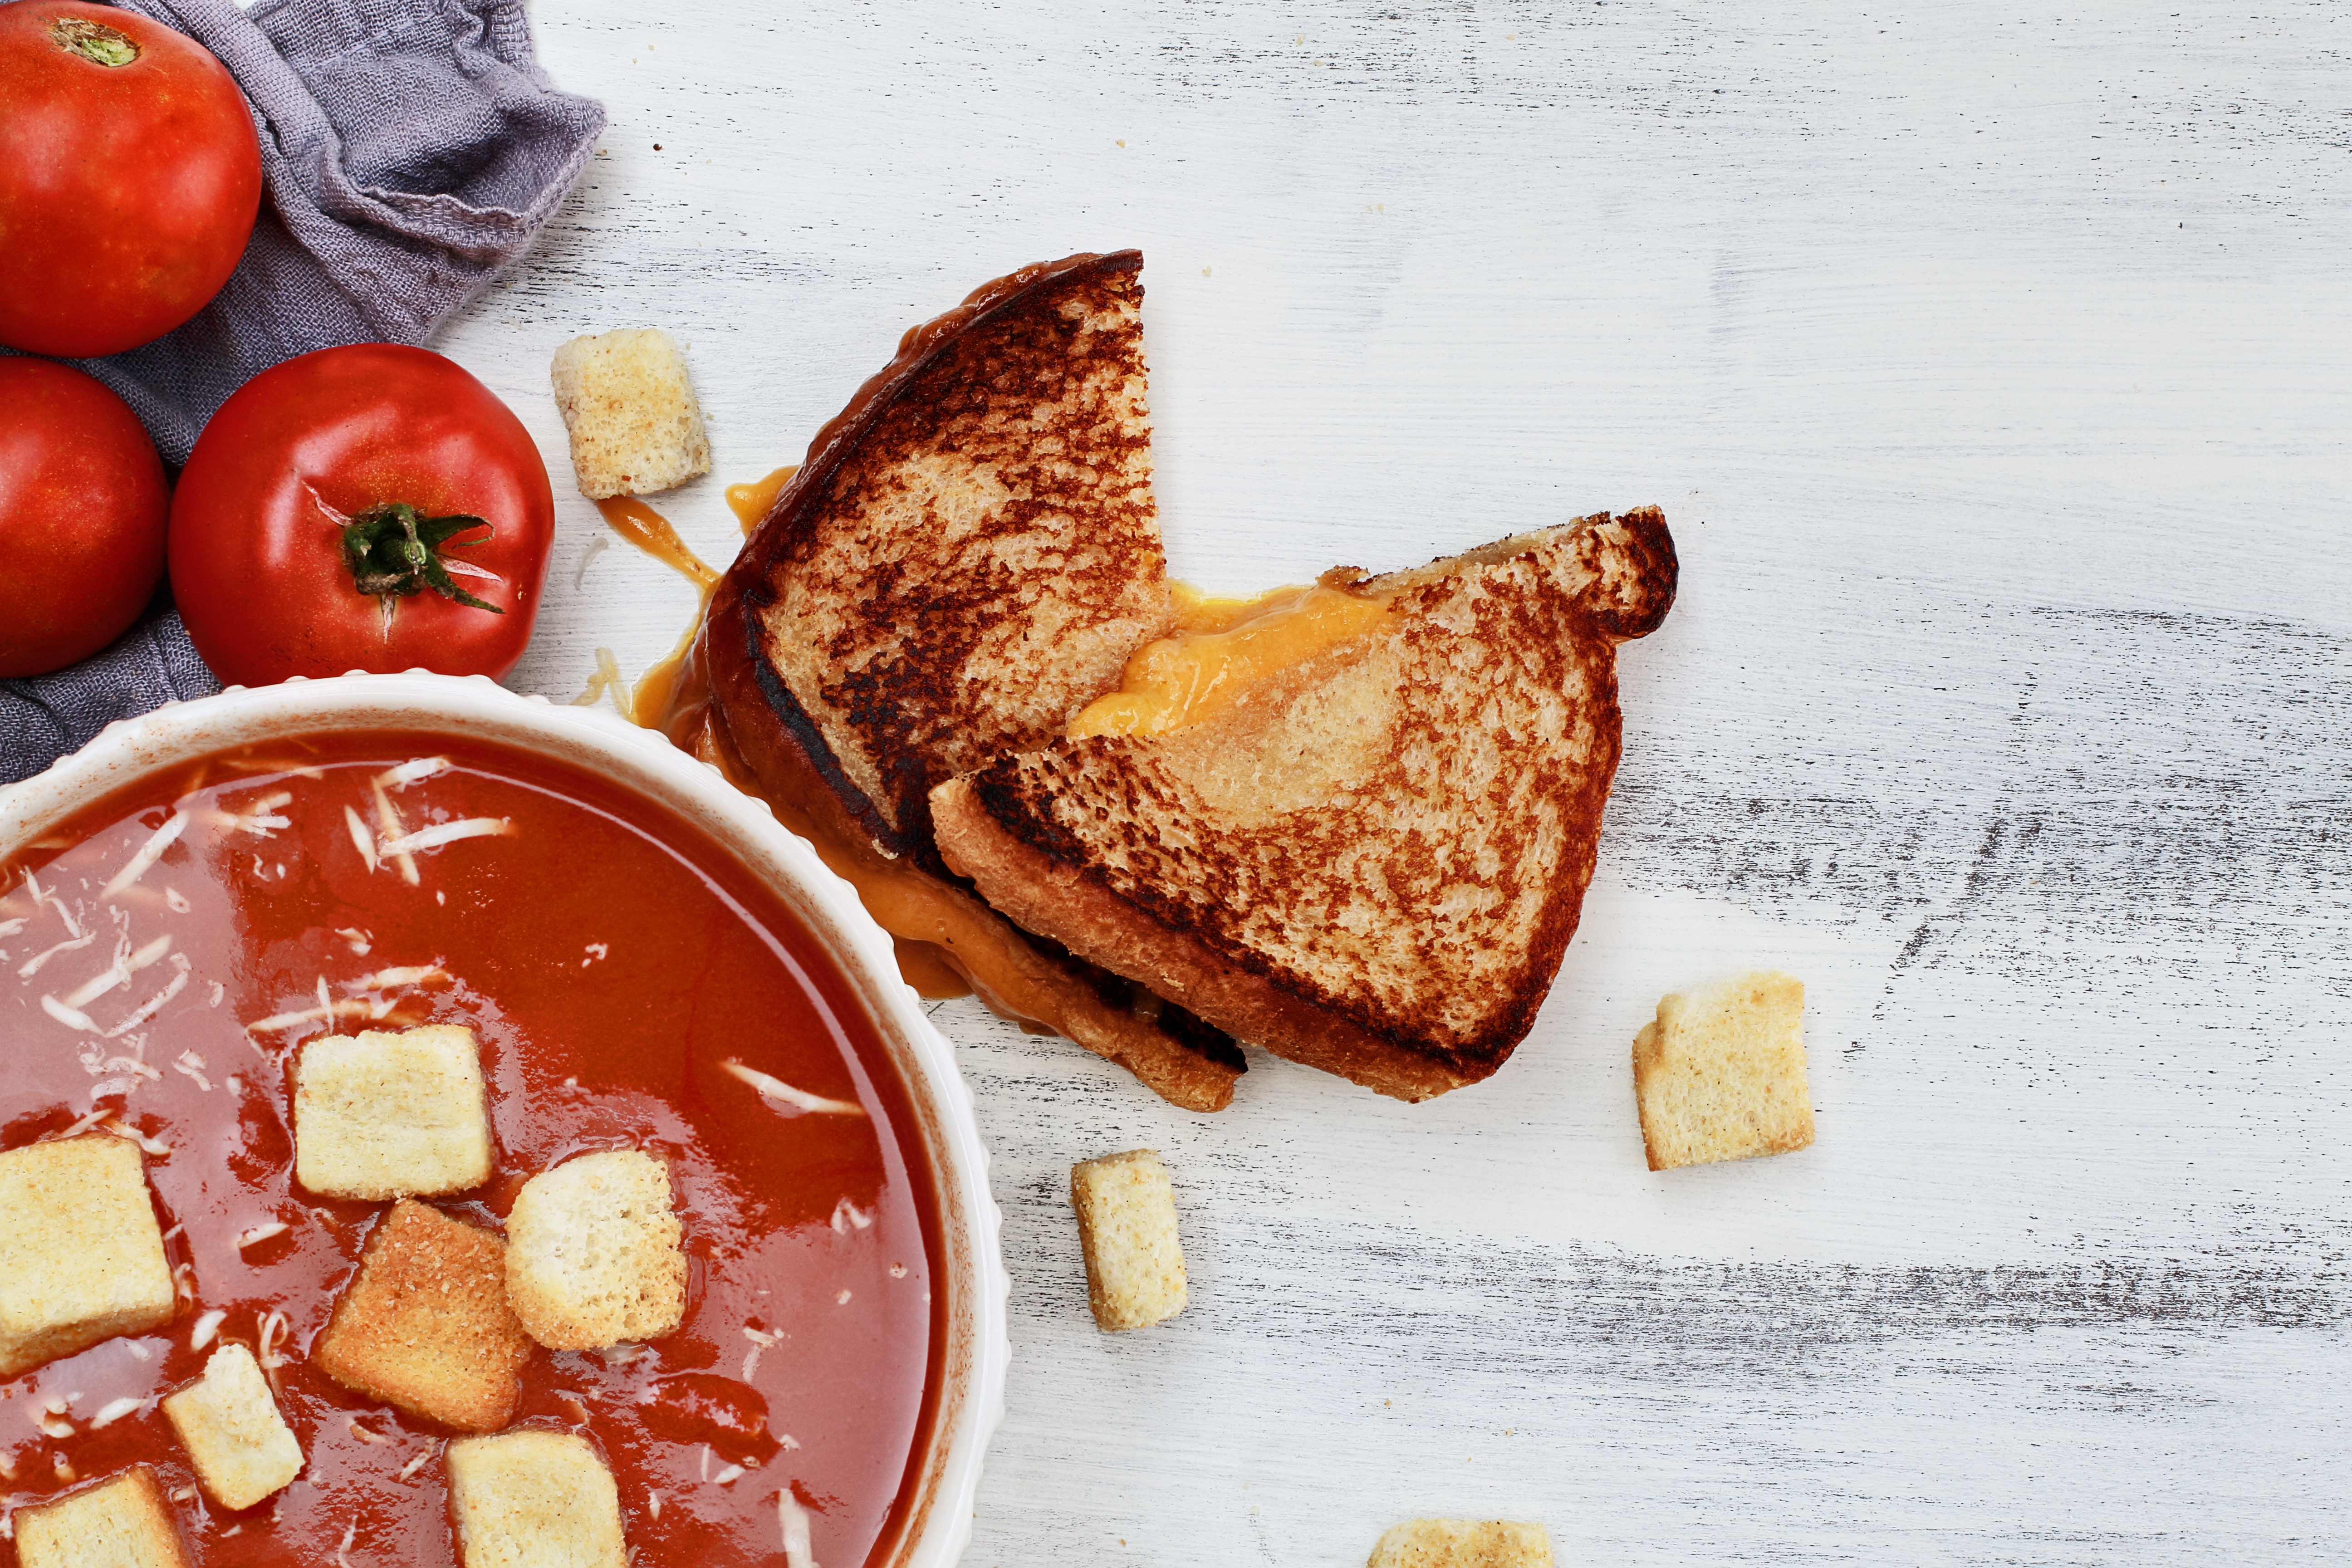 Most people enjoy their sandwiches with a side of potato chips. But what about putting potato chips right on the sandwich? If you’re looking to add an element of crispiness to your ‘wich this is the way to go. In the United Kingdom, it’s commonly referred to as a Crisp sandwich. A Crisp sandwich is simply any sandwich with an added layer of potato chips, popular varieties include; barbecue chips on ham and cheddar, salt and vinegar chips on tuna fish, and plain chips on peanut butter. Next time you’re enjoying your favorite sandwich, throw some potato chips on there and see how you like it!
Sprouts are another great addition to sandwiches! As many vegetables do, sprouts often vary in texture and taste. It’s important to understand the different varieties and which pair best with your favorite sandwich. Green-leaf sprouts are recognized by two tiny green leaves at the tip of a slim ½-inch to 3-inch shoot, these sprouts add a nice element to your meal. More commonly, alfalfa sprouts have threadlike shoots with green tops, they provide a calm, nutty flavor that goes well with your sandwich of choice!
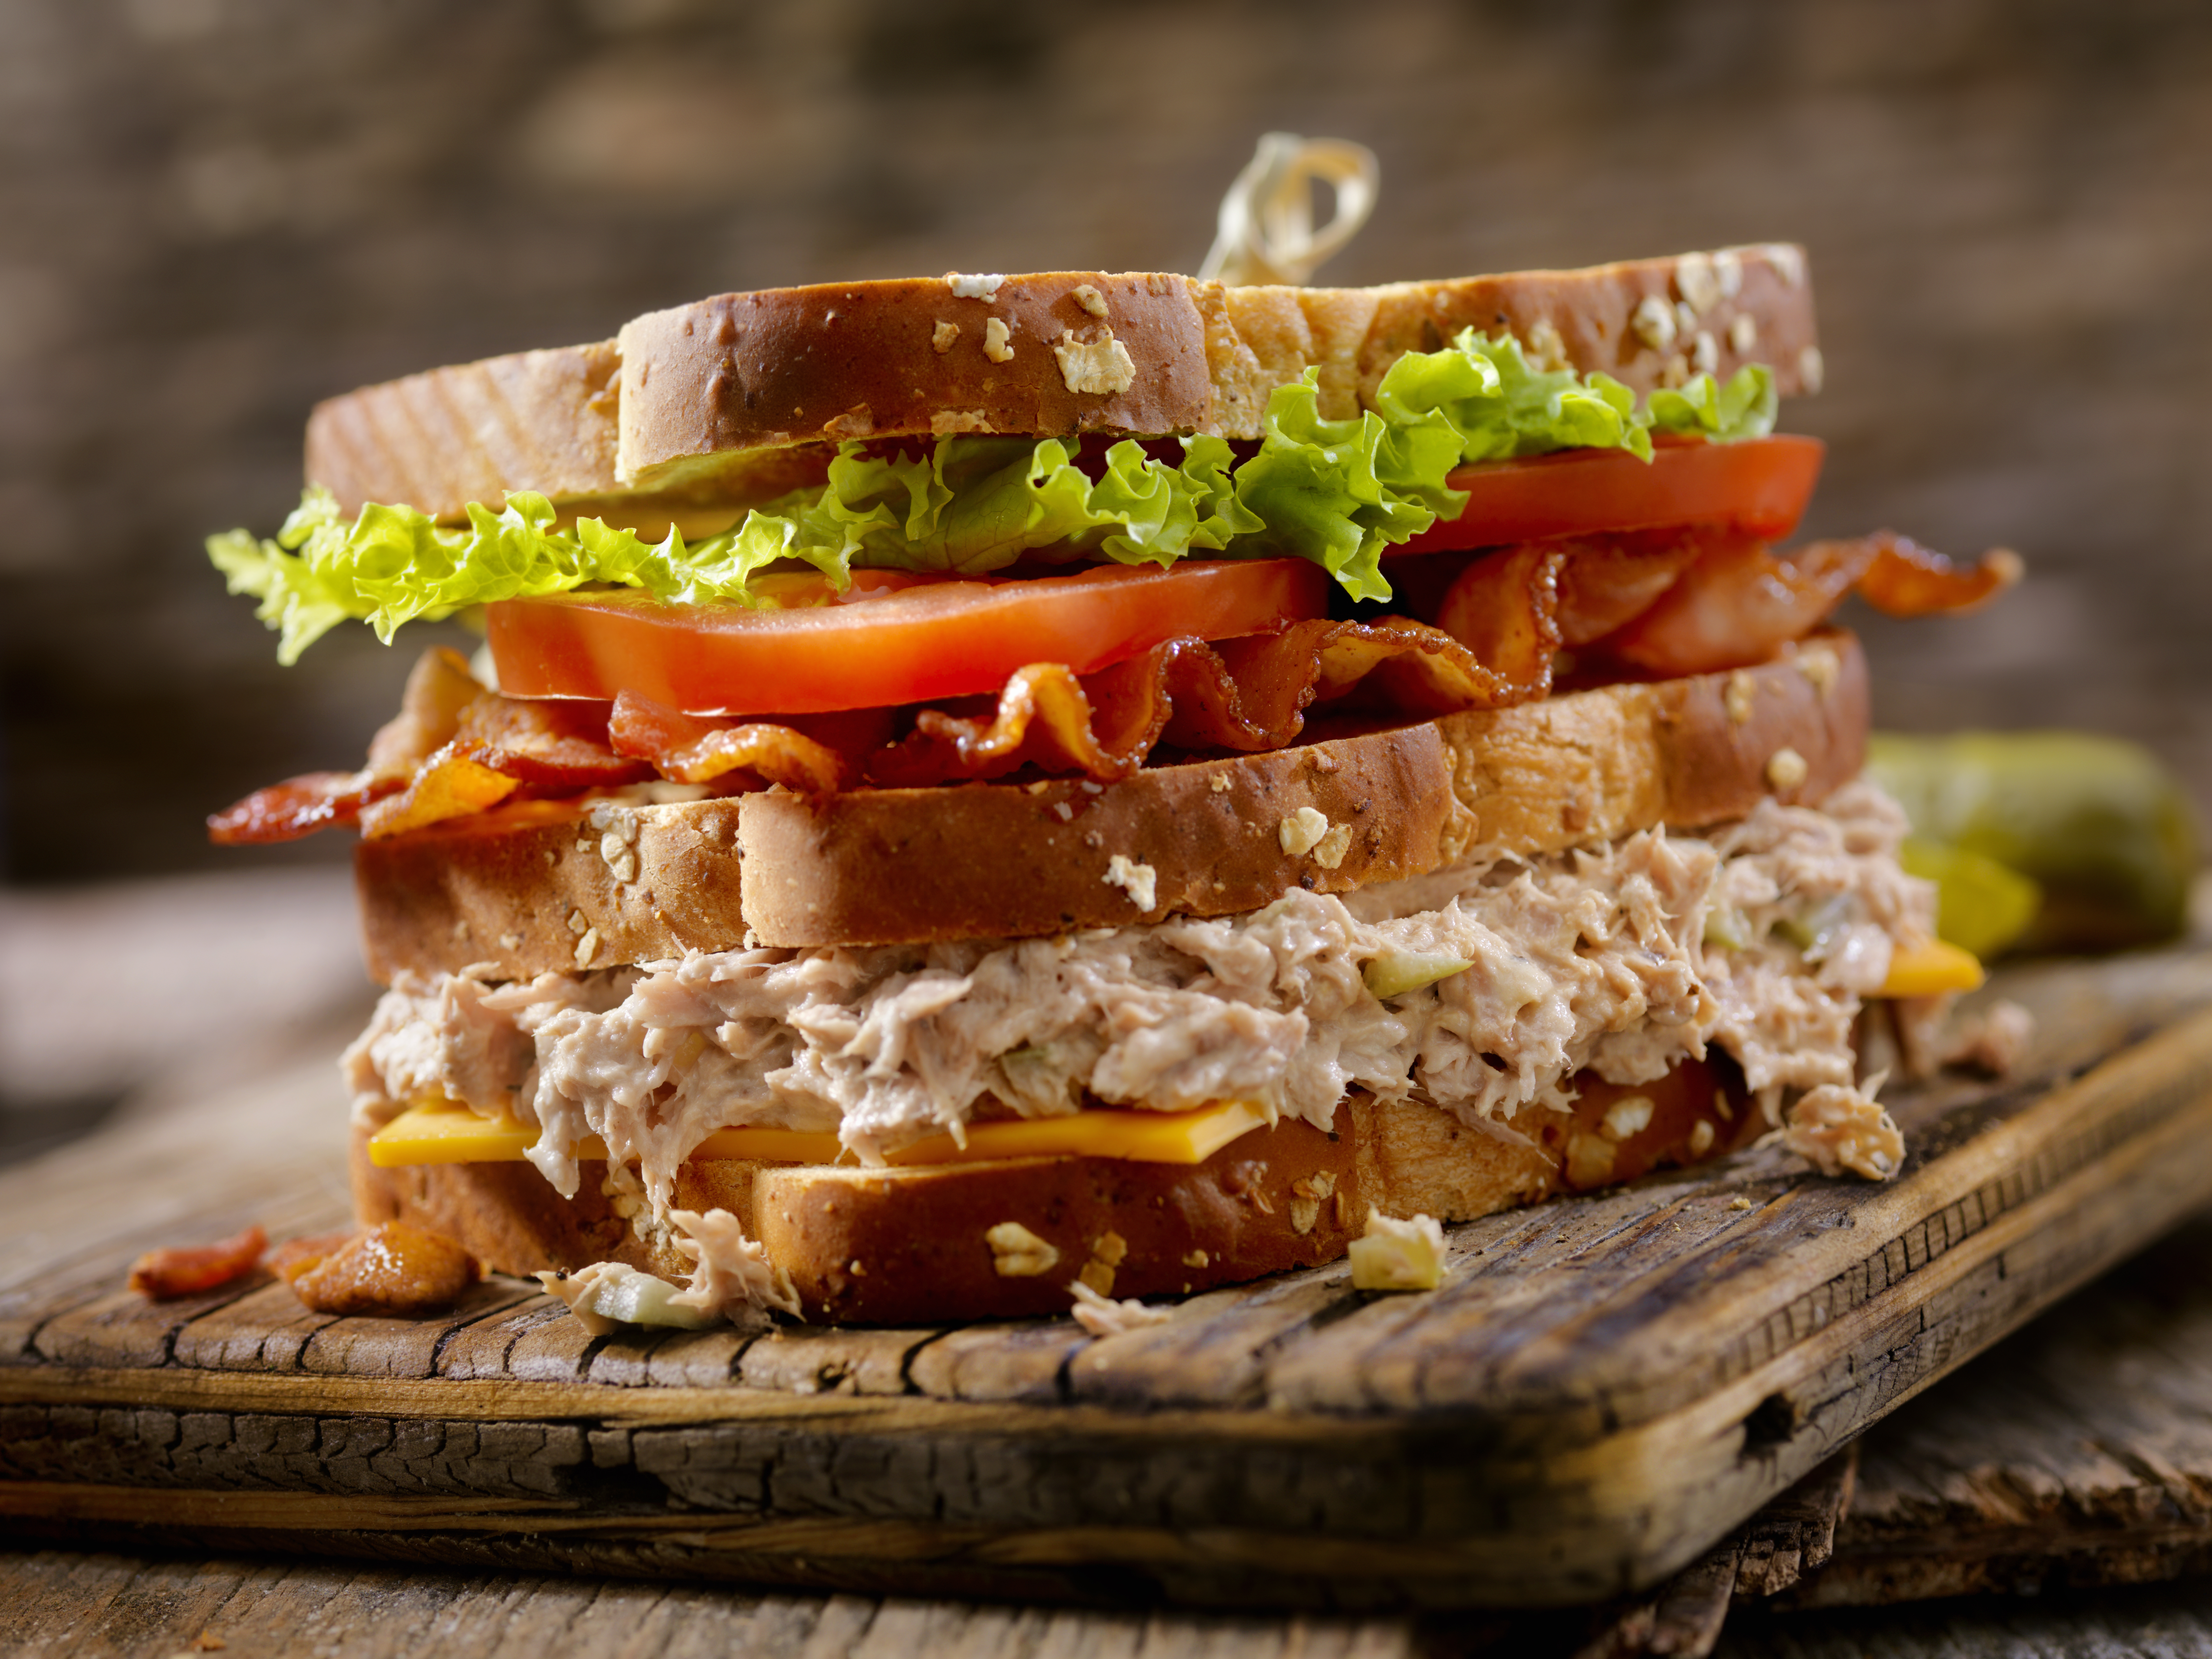 Another essential part of every sandwich are the condiments that complete it. Mayonnaise, mustard, and oil are all common. But what about other interesting tastes? Pesto is commonly found in Italian dishes like pizza and pasta, but it can be used in a number of ways. It works well on turkey or chicken sandwiches, and is even good on grilled cheese. How about Greek yogurt? Yes, you read that correctly. Greek yogurt pairs surprisingly well with egg salad, chicken salad, chicken, and turkey sandwiches. It tastes great and is a healthier alternative to mayonnaise. If you’re looking for a healthier option definitely give it a shot.
There you have it! Try something new in honor of National Sandwich Month. Add a twist to your usual and discover a new ingredient that takes your sandwich to the next level. There are many options to explore: maybe you’ll find a new favorite!
 Get Your Grill On!
Maureen Rowan Murphy, Manager Consumer Trends, Nutrition and Lifestyles
 I believe the best gift is the gift of time-time spent with those we love. While my Dad is no longer here, one of my fondest memories is the last Father’s Day I spent with him. Not only did we have quality time together, but I grilled and served one of his favorite meals. Had I not tackled my grilling “fears” that cherished memory would likely not exist.
While always comfortable cooking in the kitchen my comfort level didn’t extend outdoors. The grill was uncharted territory, and one day I made up my mind that I had to change that. I learned the basics, and then jumped right in and fired up the grill! Sure, there were a few grilling mishaps, but as my confidence grew so did my skills. I guess you could say it was trial by fire! Now I’m viewed as the grill master in my house. If you’re intimidated like I was, here are tips to help you on your way to becoming a grill master!
Gather It Up
- Gather everything up to avoid leaving food unattended on hot grill
- Wire brush
- Long-handled matches/lighter and charcoal for charcoal grill
- Long handled tongs
- Metal spatula
- Basting brushes
- Skewers
- Grill basket
- Meat thermometer
- Clean platters and utensils
- Heavy duty oven mitts
- Reduce food sticking by taking a paper towel dipped in a little oil, and using tongs, wipe evenly over the grates
- Preheat grill 10 to 15 minutes to ensure it reaches the proper temperature as well as kill any possible bacteria
- Grilling Temperatures – High: 400-450°F for high; medium-high: 350-400°F; medium: 300-350°F; low: 250-300°F
- A properly heated grill sears foods on contact, keeps the insides moist and helps prevent sticking
- Keep a spray water bottle for gas or charcoal grills nearby in case of flare ups
- Don’t use cooking spray on a hot grill
- Sear the meat to seal in juices and capture its best flavors
- Turn grill down after searing so food does not burn outside and remain raw inside
- Use tongs when turning meat or poultry to keep natural juices inside
- Turn food only once – the less you flip, the more the flavor develops
- Apply sauces and glazes during last 10 minutes to avoid potential flare-ups
- Close grill lid to enhance smoky flavor and keep moisture in
- Use a food thermometer to ensure a safe internal temperature
- Steaks, roasts and chops: 145°F with a 3 minute rest time
- Ground beef, pork, lamb and veal: 160°F
- Poultry, including ground poultry: 165°F
- Let meat “rest”, tented with foil, about 10 minutes before cutting
Keep Your Food and Family Safe This Summer!
 After a long winter and cool spring, temperatures are finally warming up making everyone eager for outdoor picnics and barbecues. While these temperatures are ideal for that, they also provide a perfect environment for bacteria and other pathogens in food to multiply rapidly and cause foodborne illness.
You can help prevent harmful bacteria from making your family sick by avoiding the “Danger Zone” and following the “Core Four”.
The Danger Zone: temperature range between 40°F and 140°F
- Keep food out of this range as foodborne bacteria can grow rapidly to dangerous levels that can result in illness
- Always keep cold food COLD, at or below 40°F, in coolers or in containers with ice or frozen gel packs
- Keep hot foods HOT, at or above 140°F, on the grill or in insulated containers, heated chafing dishes, warming trays or slow cookers
- Reheat foods to 165°F
- Wash hands with warm water and soap for 20 seconds before and after handling food
- Clean kitchen surfaces, dishes and utensils with hot water and soap
- Have one cutting board for produce and another one for meat, poultry and seafood
- Use separate plates and utensils for raw and cooked foods
- Wash plates, utensils, and cutting boards that held raw meat, poultry, seafood, or eggs before reusing
- Marinate in the refrigerator and not on the counter keeping raw meat/poultry separate from any veggies you might be using
- If you plan to reuse the marinade as a sauce be sure to boil it first to destroy any harmful bacteria or make extra to set aside before adding raw meat/poultry
- Cook: Cook to safe internal temperatures
- Use a food thermometer to ensure food is thoroughly cooked
- Whole cuts of meat (steaks, chops and roasts) – 145°F with a 3 minute rest time
- Ground beef, pork, lamb and veal- 160°F
- Poultry, including ground poultry- 165°F
- Fish – 145°F
- Leftovers – 165°F
- Refrigerate perishable food within one hour in hot weather (above 90°F) and within two hours if temperatures are below 90°F
- Place leftover foods in shallow containers for quick cooling


